

What is Phone Gap?
PhoneGap is a free and open source framework that allows us to build native installable applications across a range of different devices and platforms. It also allows us to build those applications using our existing knowledge of HTML, CSS and JavaScript. Also through JavaScript we can access the PhoneGap API to leverage access to the devices features and peripherals for example the accelerometer, camera, microphone, file system and more.
Some may ask….
What are the disadvantages of Phonegap?
Well no one, you can’t use PHP so can’t directly connect to MySQL database.
Also the API support slightly varies from platform to platform, also some platform don’t support some specific API of phonegap at all.
However that said phone gap will save you a ton of time in term of development of mobile application as it allows you to distribute across multiple platform with a single build.
Phone gap is wonderful frame work.
First of all I am going to show you how to set up phone gap and use it.
Following are the software and plugins you need to work with PhoneGap,
1. Download JDK –
For Android SDK to work on your machine your machine need to have minimum Java JDK version 1.6.
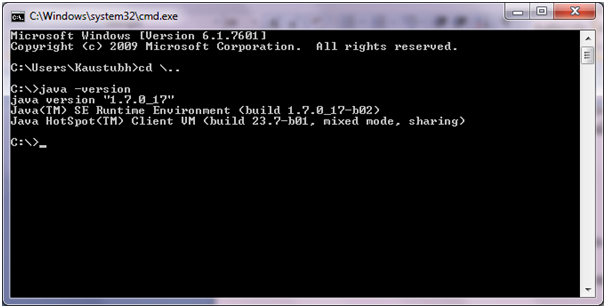
[Note: To check the version of JDK installed in your machine follow the steps:
1. Go to the Command Prompt
2. Navigate to the root directory
3. Type -> java –version, press enter
The next line will display the JDK version installed in your machine]
If you don’t have JDK installed or the version is below 1.6 follow the steps to install the JDK
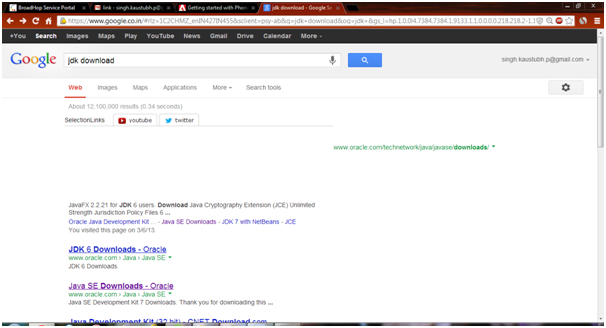
• Search “JDK download” in Google
• Click on the first option in the search result “Java SE Downloads – Oracle”
• You will be navigated to a page shown below, click on “Download” below JDK
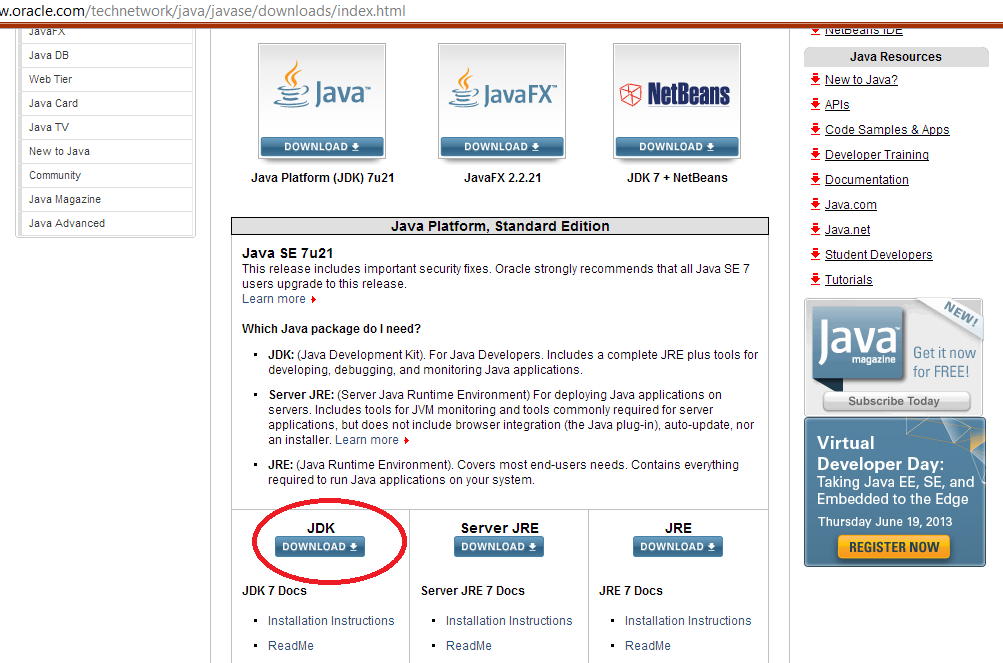
• You will be navigated to a page as shown below, Accept the license agreement and depending upon your machine download the JDK by clicking on the links under Download
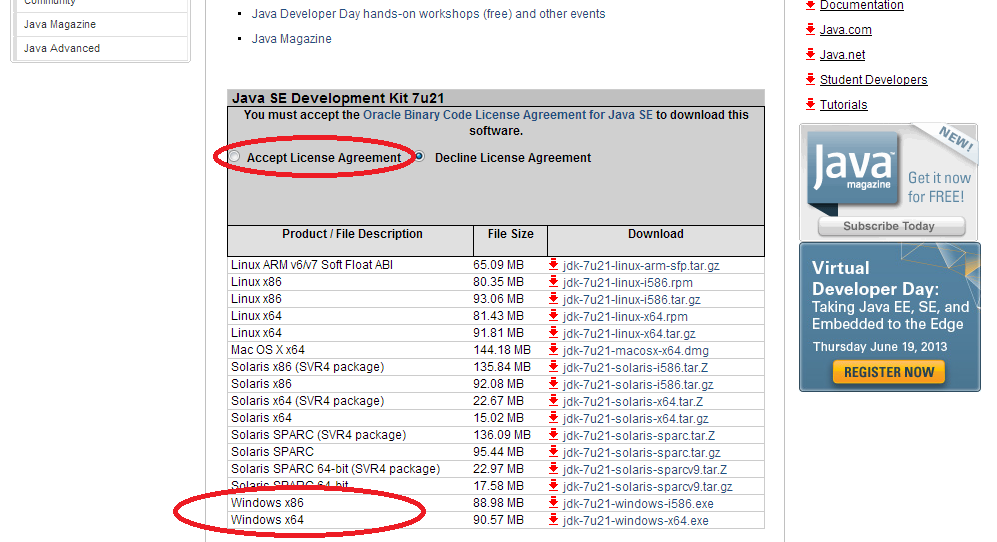
Note: For 32 bit machine download Windows x86
For 64 bit machine download Windows x64
• Once the .exe file is downloaded, install the JDK.
2. Installing Android SDK and Eclipse:
Follow the steps to download and install Android SDK and Eclipse:
• Search for Android SDK in Google.
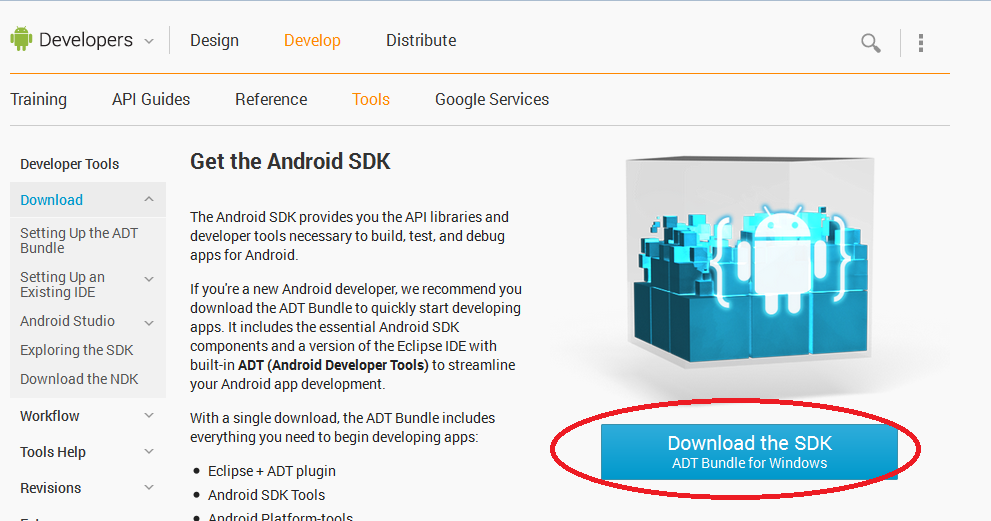
• Select the first option in search result from developer.android.com
• You will get the following page, click on the link for “ADT bundle for Windows”
3. Installing Phonegap:
• Search for PhoneGap in Google.
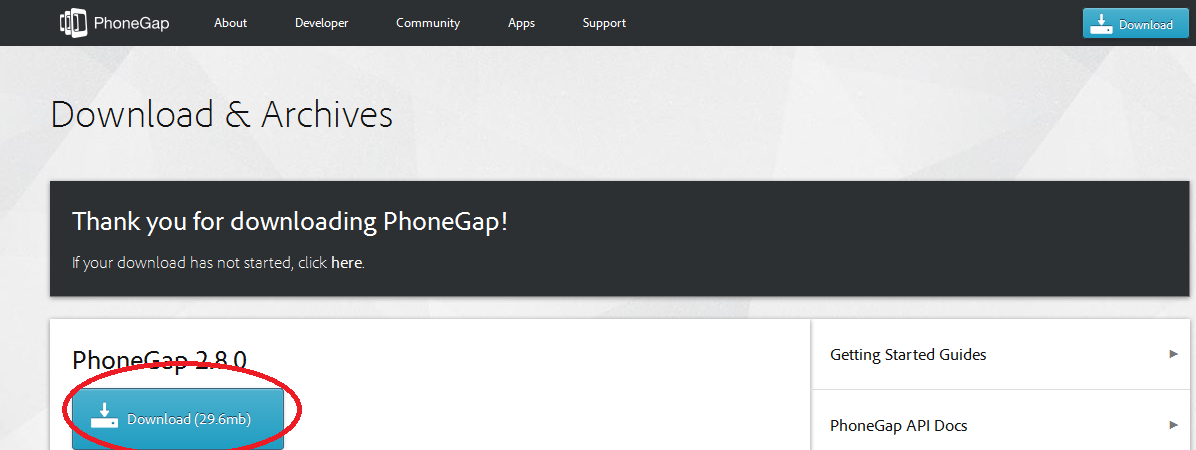
• Click on the first option from phonegap.com
• Click on the “Download PhoneGap” button shown in blue, click on the link to download the latest PhoneGap version.
• The downloaded file will be zip file, extract it and save the extracted folder to a secured location where it will not be deleted or modified (preferably “C drive”).
4. Configure the ADT Plugin for Eclipse
Next, you need to set up the ADT (Android Development Tools) plugin for Eclipse. The ADT plugin must be installed through the Eclipse Install New Software wizard.
• Start Eclipse.
• Follow the download instructions for the ADT plugin, available at the Android developer SDK page for Eclipse. These steps will guide you through the installation of the ADT plugin.
• Restart Eclipse.
Once you’ve installed the ADT plugin and restarted Eclipse, you need to configure it to use reference the Android SDK that you have already downloaded to your local file system.
• Follow the instructions on the Android developer SDK page for configuring Eclipse to set the appropriate Android SDK location in the ADT plugin.
5. Configure the PhoneGap Plugin for Eclipse
• Start Eclipse, then select Help > Install New Software.
• Click Add, in the top-right corner.
• In the Add Repository dialog that appears, enter “PhoneGap Plugin” for the Name and the following URL for the Location: http://svn.codespot.com/a/eclipselabs.org/mobile-web-development-with-phonegap/tags/r1.2/download
• Click OK.
• In the Available Software dialog, select the checkbox next to Developer Tools and click Next.
• In the next window, you’ll see a list of the tools to be downloaded. Click Next.
• Read and accept the license agreements, then click Finish.
If you get a security warning saying that the authenticity or validity of the software can’t be established, click OK.
• When the installation completes, restart Eclipse.
• On restarting Eclipse you get a PhoneGap logo in your Eclipse

Now we are ready to start building our Android Application
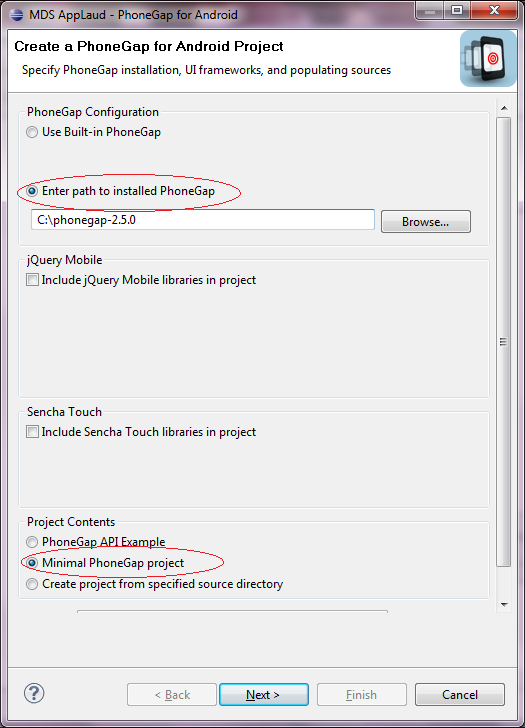
• Start Eclipse, click the PhoneGap icon to start new PhoneGap project.
• You will get following window. Select the second radio button, browse to the location of the PhoneGap folder. In the last section select the second radio button, Minimal PhoneGap Project.
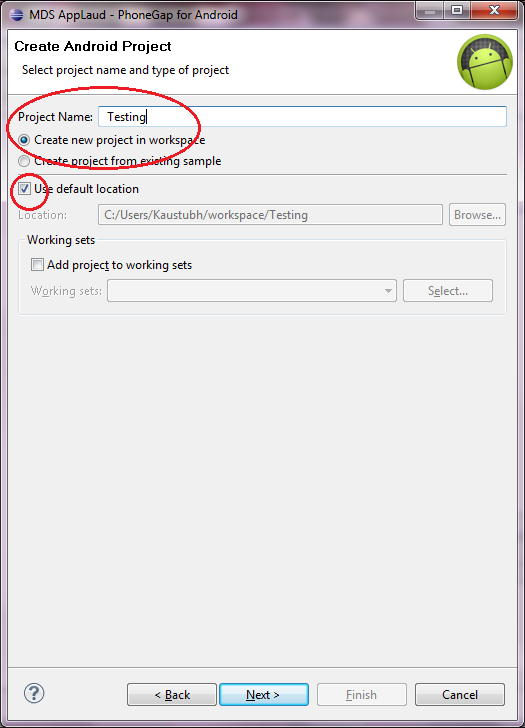
• Click NEXT, enter the Project name, select the first radio button, “create new project in workspace”; select the check box “Use Default Location”.
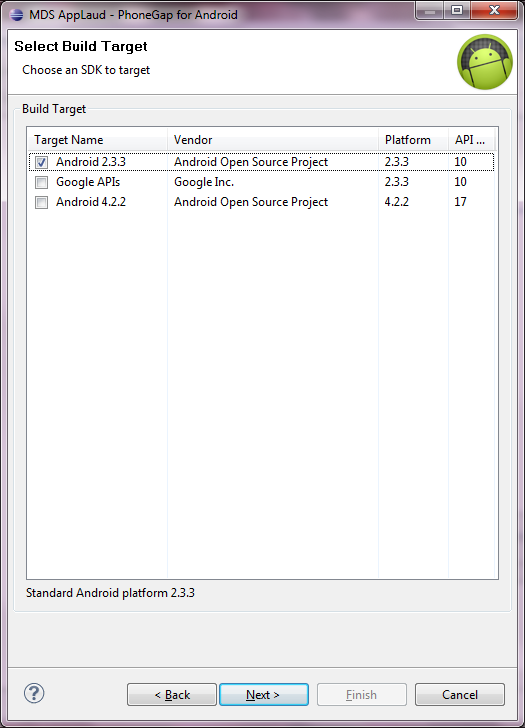
• Click NEXT, choose an SDK to target, i.e the Android Version for which you wish to develop the application.
(Note: Application developed on a higher version will not work on lower version, for eg: an app developed on Android 4.2 will not work on Android 2.2, hence it is suggested to use a lower version to develop an app.The recommended SDK target is Android 2.3.3.)
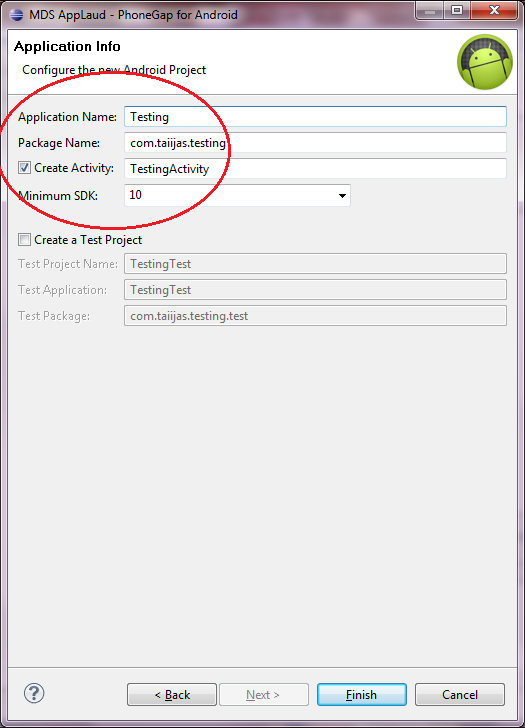
• Click NEXT, now “Application name ”can be anything, by default it shows the name of the project as the application name, application name is the that will be displayed on the device with your icon. Package name can be anything but has to be unique and must follow a protocol, it should have two periods [.] in it. It should be unique because when we put it on Play Store no other app should have the same package name. (recomnded is com.taiijas.testing i.e. com. followed by your website(taiijas). followed by the name of the application(testing)). Select the “Create Activity” check fox. Activity can be anything by default it will be Project Name Followed by Activity, you can have your own name here but it should not have space. The “Minimum SDK ”tells the minimum SDK supported by the Application.
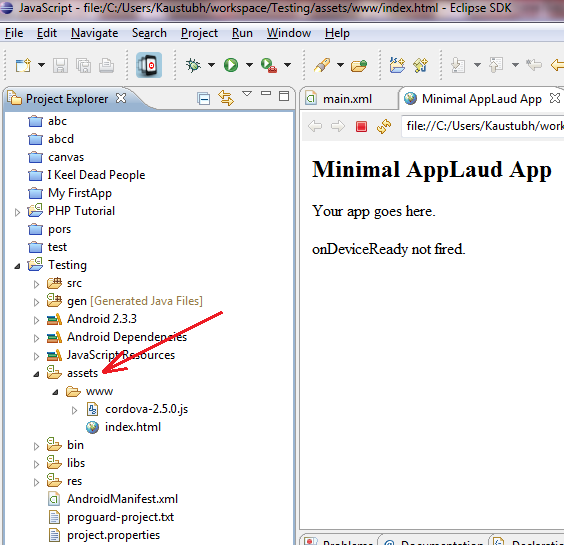
• Click FINISH, your project will be added to the Workspace and it will be displayed in the Project Explorer part of the Eclipse.
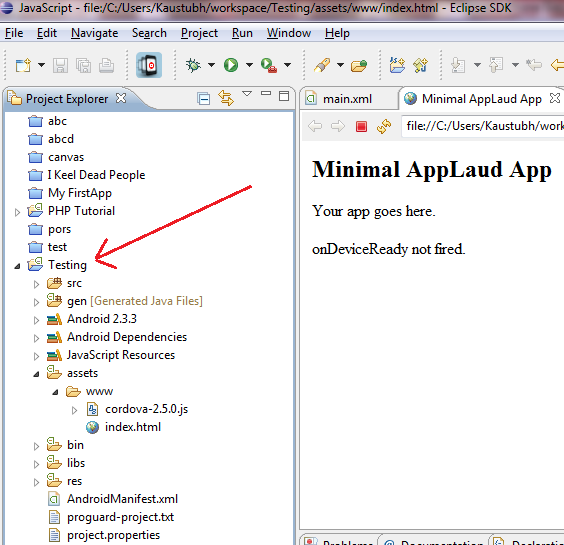
•Now your sample is ready to be developed into an app, your HTML, CSS and JavaScript files will go inside assets > www.
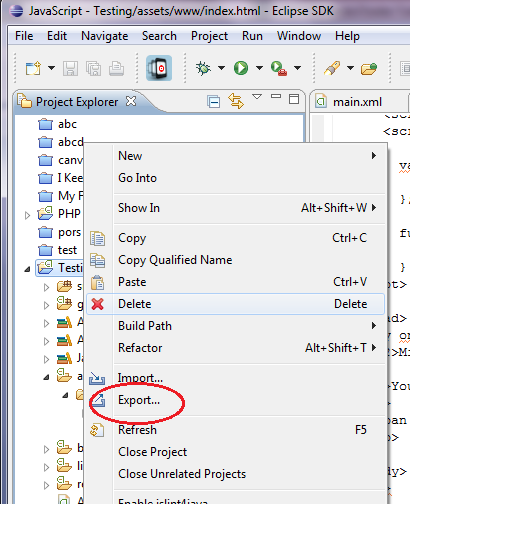
Now our sample application is ready lets export it to get the .APK file
• Right Click on the project in the project explorer, select Export
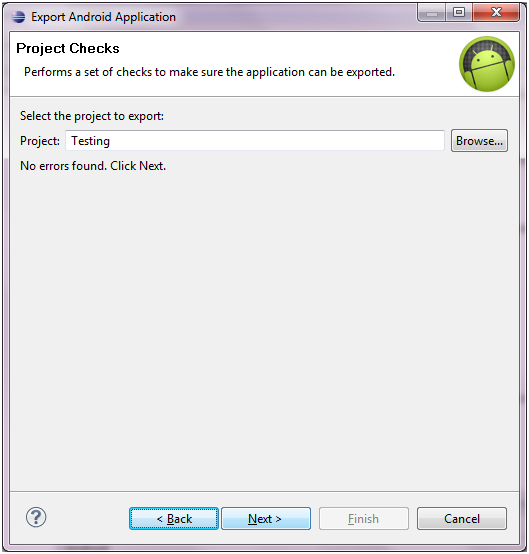
• Select Android > Export Android Application
• Click NEXT, If your code doesn’t contain any error you will see a window with your Project Name
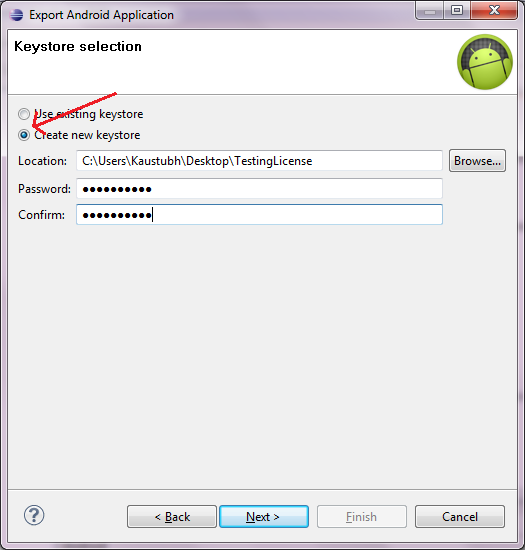
• Click NEXT, you will see a new window for Keystore Selection, since you are exporting the Application for the first time select, Create New Keystore. Browse to the location where you wish to store the Keystore, name it and click save. Enter the password to secure your Keystore, confirm the password.
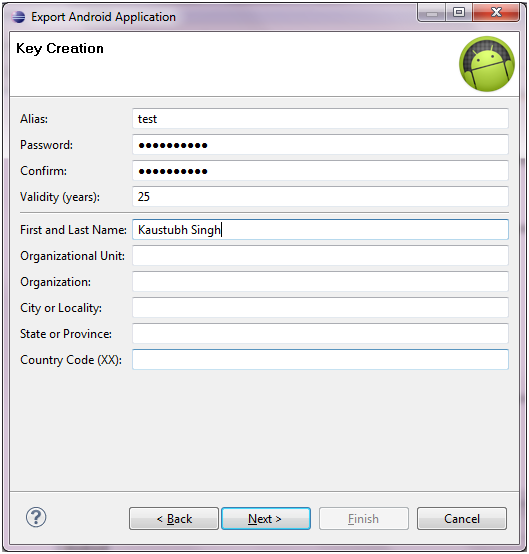
• Click NEXT, you will get a window for key creation, remember no special character can be used over here only alphabets and numbers. Enter Alias, it can be anything, it works like a nick name for the application. Enter Password and Confirm Password. Enter the Validity (years), i.e. the no of years for which you wish your application to be valid (Recommended 25 years). Enter the First and Last Name, rest of the areas are optional can be left blank.
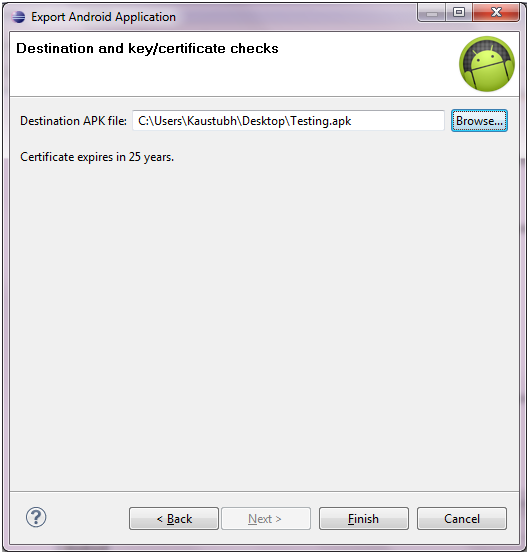
• Click NEXT; you will get a window to save the destination for your APK file. Browse the destination enter the name of the APK file and save it.
• Click FINISH, and your APK file is ready to be installed on your device, copy the APK file on your device, install it and run it.
We can also run the application in Android Virtual Device
Running the application
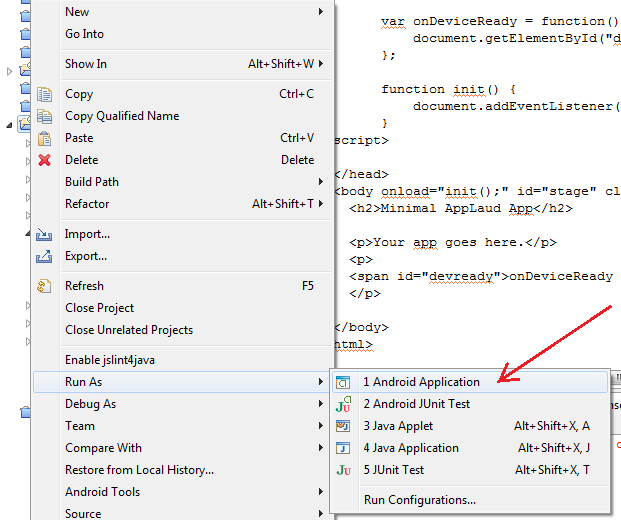
To launch your PhoneGap application in the Android emulator, right-click the project root, and select Run As > Android Application
If you don’t have any Android virtual devices set up, you will be prompted to configure one. To learn more about configuring Android emulator virtual devices, visit the Android developer guide for devices.
http://developer.android.com/tools/devices/index.html
Eclipse will automatically start an Android emulator instance (if one is not already running), deploy your application to the emulator, and launch the application.
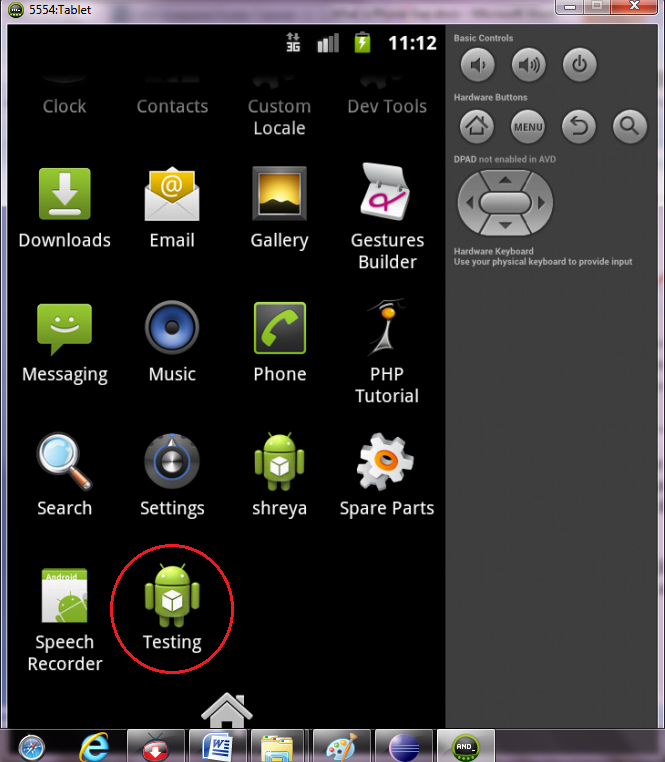
As you can see your Application is visible in the Emulator, but the application contains the Bot logo. You can insert your own logo instead of the Bot.
Configuring your own Launcher Icon
• Go to the destination where you created your Workspace for your Eclipse.
• Open the folder having your Project name.
• You will see some folders and some files, open the “res” folder, it will contain some folders, and our interest of folders is the folders drawable-hdpi, drawable-ldpi, drawable-mdpi and drawable-xhdpi.
• Open all the folders in new window, you will see an image with the name of ic-launcher in these folder with different dimensions in each folder respectively.
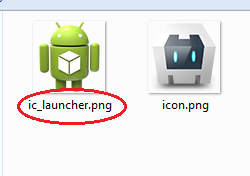
• Replace all the images with your image keeping the name and dimensions same respectively.
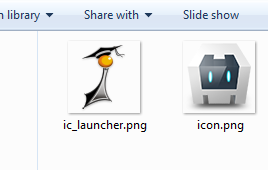
• Now Start Eclipse and repeat the procedure of exporting, but this time using the same Keystore.